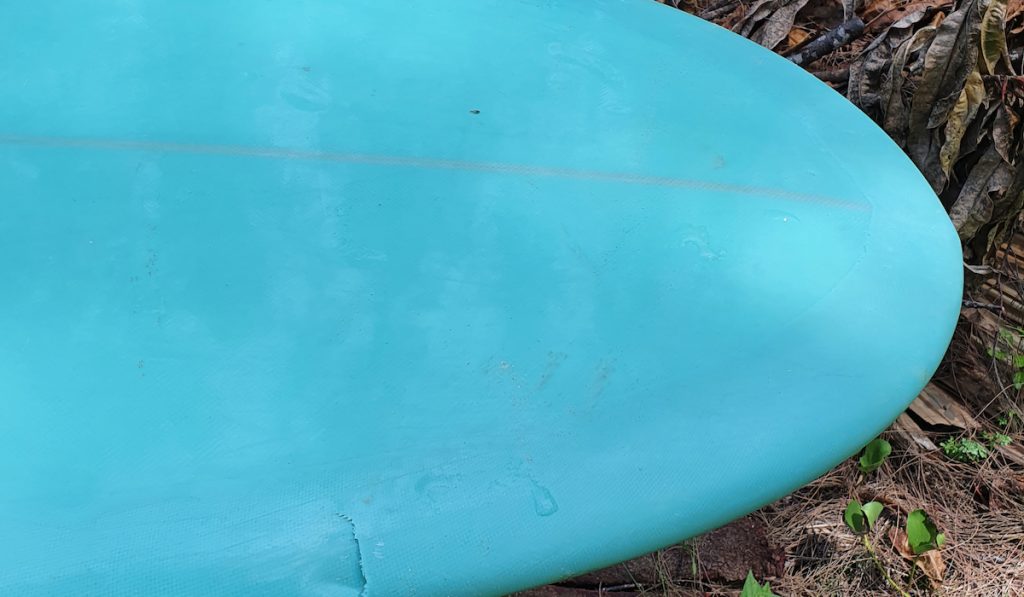
A dent or a ding on a surfboard can happen to anyone. No matter how careful you are with it, accidents can happen.
Will a dent in a surfboard affect it?

Undoubtedly, if a surfboard gets dented, its durability would be affected. But beyond that, the physical appearance, safety, and lifespan of a dented board are affected too.
A dented surfboard would become less attractive, and its lifespan will become shorter. In some cases, it might not be as safe as it should be anymore.
Before surfing, assess your board to ensure everything is as it should be. Your surfboard should be fine if the fiberglass has not been cracked by the dent.
Uncracked fiberglass will keep water out, and the foam core will not be waterlogged. The rest of this article will provide information on the types of dents, their causes, and how you can fix them.
Types of Dents or Dings in Surfboards and What Causes Them
Listed below are different types of dents or dings and their causes:
Pressure Dings
Pressure dings are indentations or dents caused by excess pressure on your surfboard.
Cracks and Holes
These are common dings that cause the fiberglass to break. They can occur in the water or on the beach. However, they are easy to fix.
If you surf close to a pier and your surfboard hits a pylon when you wipeout, it can cause a big hole or crack in your surfboard.
Another way your board can get cracks and holes is if it falls as you place it in your car.
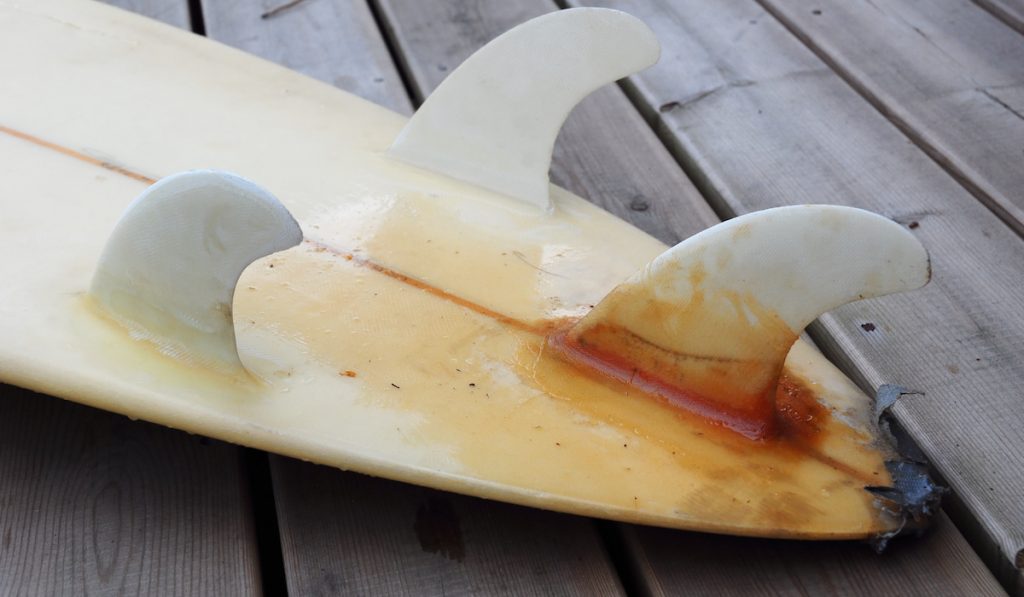
Broken Fin or Fin Box
The fin box at the bottom of your board helps to secure your fins. Riding a wave too close to shore can damage your fin box.
Surfing without a leash can also damage the fin box. If you lose your board while surfing, sand or rocks can ding your surfboard as it washes to shore.
Buckling
When a surfboard buckles, it looks like it has folds that can snap at any time.
Buckling leaves a horizontal line across the bottom, or deck, of your surfboard. It happens when the impact of a massive wave tries to fold your board in half.
Buckling can also happen when you encounter a close-out wave. This type of wave breaks simultaneously.
You can’t go right or left. Instead, you go straight down, and the resulting impact can cause buckling.
Fin Gouges
A fin gouge is a standard ding, and it occurs when the fins from another board hit and cut into your surfboard.
It is quite common on crowded beaches and can cause quarrels. This ding is preventable so ensure you look around to prevent any accidents.
Board Snapping
Board snapping is the worse type of ding you can encounter. It can happen to just about anyone, no matter how good or bad you are at surfing.


For a pro surfer, board snapping can occur in several ways including pearling the nose or landing badly on a massive air.
A beginner’s surfboard can snap when they drop it and it hits the sand. It could also snap from the impact of a big wave.
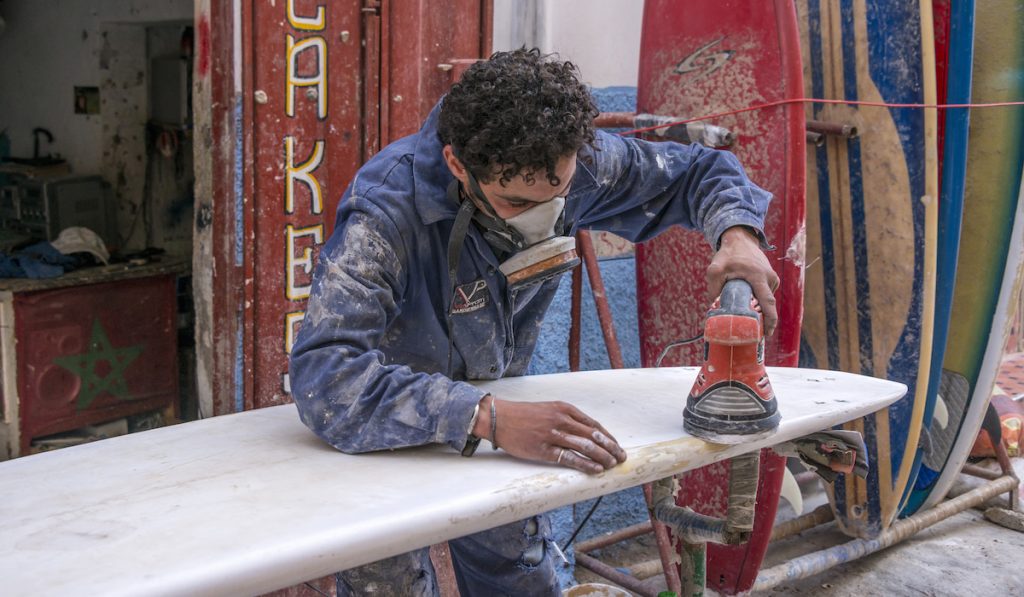
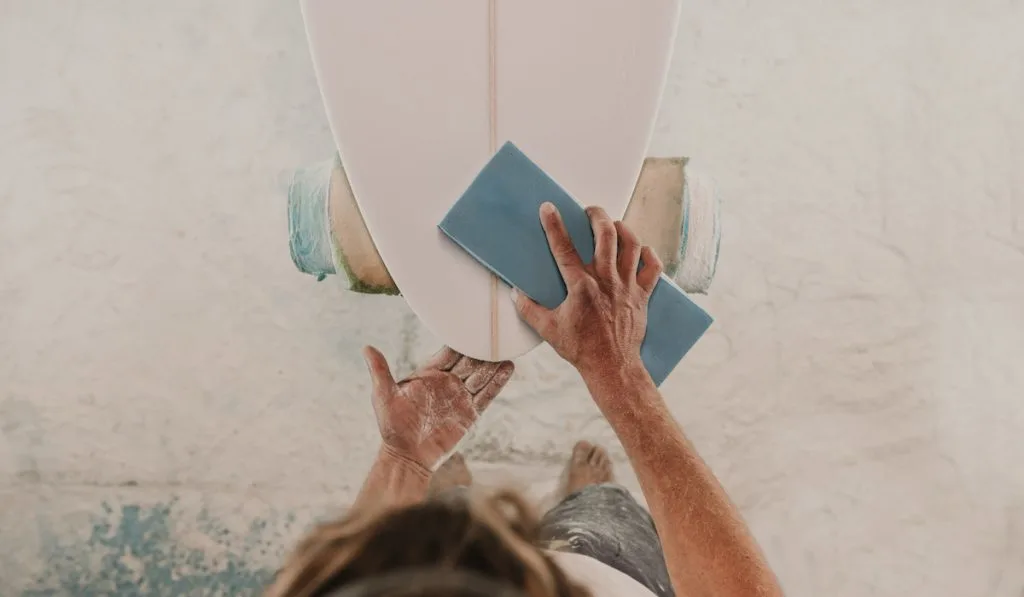
How to Repair a Surfboard Dent
Depending on the level of damage to your surfboard, dents and dings can be repaired.
When fixing a dent on your board’s fiberglass, the following materials would come in handy:
- Acetone
- Razor Blade
- Sandpaper
- Masking Tape
- Sanding Resin and Catalyst
- Safety Mask
- Mixing Cup
- Q-Cell Filler
- Paintbrush
- Wax Comb
- Safety Glasses
Once you have these materials, follow the steps below to fix a dent in your surfboard:
Step 1
The first thing to do is, cut out the damaged area of your surfboard using a razor blade. Doing this removes any rotted, crushed, or broken part of your board.
It also provides a new surface on which you can rebuild the outer coating and fiberglass. If the dent is recent, allow your surfboard to dry out before you cut.
Step 2
Using a wax comb, clean the surface surrounding the cut area. Then pour some acetone to breakdown any particles left on the board. This will ensure the surface around the cut is clean.
Step 3
Next, make the surface of the cut area smoother using a piece of sandpaper. Ensure the sandpaper used does not have a high grit level.
Sandpaper with a grit level of 30-60 should be enough to give you a smooth surface for repair.

Step 4
Cover the area around the cut surface with some masking tape to contain the repair and ensure continuity.
Step 5
Mix 1 ounce of sanding resin with the Q-cell filler and stir gradually. The resultant should be a thick white paste.
Once you have achieved this, add 10 drops of the catalyst into the mixture and stir it again.
Step 6
Apply the final product of the mixture in Step 5 to the dent.
You will need a stick to properly apply the mixture to every edge and groove of the dent. When applying the mixture, pour it slowly to prevent air bubbles in the compound.
Lastly, when you apply the mixture, let it sit above the level of the board surface. When you eventually sand it down, it will be in line with the rest of your surfboard.
Step 7
Once the mixture becomes dry, you can start sanding. The time it takes for a mixture to dry depends on several environmental factors.
The temperature, humidity, and how much mixture you applied are some of the said factors.
If you are a beginner, sand the mixture until it is level with the rest of your surfboard.
When you are more experienced in the future, you can sand down the mixture a little more. It will ensure your fiberglass patches won’t stand out when you finish.

Step 8
Cut your fiberglass into two circles, making one bigger than the other. Next, mix 1 ounce of sanding resin with 10 drops of catalyst. Stir the mixture and wait for the mixture to become viscous.
Step 9
Next, apply the current mixture to the already sanded area of the board using a paintbrush.
Ensure you apply a thin and even coat. Then place the bigger fiberglass sheet on the applied mixture.
Pour a bit of the mixture on the fiberglass sheet and spread it evenly until the surface is smooth.
Place the smaller fiberglass sheet like you did the bigger one. Then pour the resin mixture on the fiberglass spreading it evenly until it is smooth.
Before you move to the next step, ensure both fiberglass layers are firmly held against the surfboard. You should also verify that no air bubble is present.
Step 10
Once the layers of fiberglass and resin have hardened, you need to sand again. While sanding, do not sand too hard, lest you sand down most of the fiberglass patch.
Sanding down too much fiberglass would be a disaster because the repair will be meaningless. So try not to make this mistake when the repair is almost complete.
Step 11
Prepare a new resin mixture. Add 15 drops of the catalyst this time, then stir.
Apply a thin and even coat of this mixture to the surfboard. The extra drops of catalyst will seal the fiberglass and harden the repair.
Allow the applied mixture to dry before you move on to the next step.
Step 12
The final step is wet sanding. This process involves sanding the surface of the board after applying a little water. Wet sanding gives a glossy new look to the surface of the board.
To ensure the repair hardens properly, leave the board for about a day or two.
After the waiting period, and when the repair is cured, you are ready to hit the water and start surfing again.
Conclusion
Without a doubt, if there is a dent in your surfboard, it will not function as it should.
Dents leave boards prone to severe damages, which in turn leaves a surfer at risk.
In all of this, the good news is with the right resources, you can fix surfboard dents on your own before they become major.